Time.ly Calendar: Posting your first event
Creating your first event with the time.ly calendar.
To create your first event, do the following:
1. Log into your WordPress Dashboard.
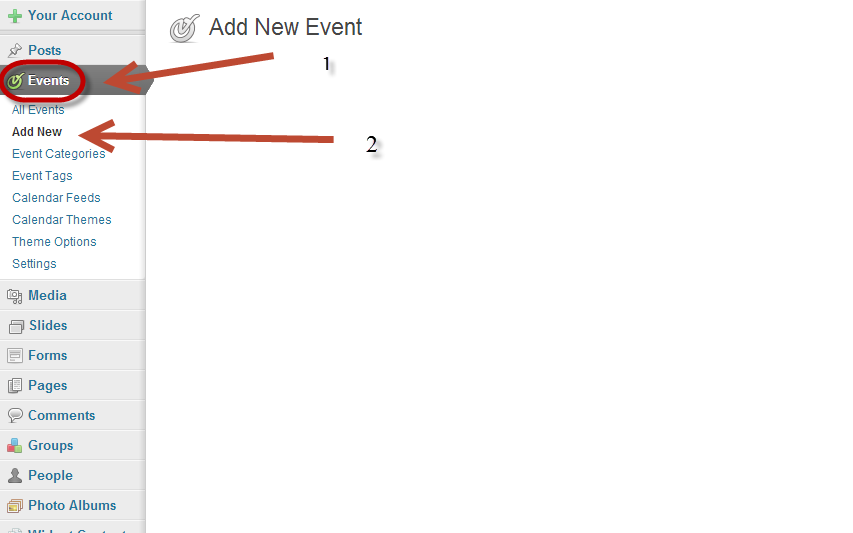
2. Under the Events menu, click the Add New menu item. You’ll be taken to the Add New Event screen, where you can fill in the information about your event.
3. Enter the title of your event in the field that reads Enter title here.
4. Enter the start and end times of your event.
5. Enter a description of your event in the text editor. You can upload images, add a video, insert shortcodes for registration forms from other plugins, or any other objects you might add to a regular WordPress post.
6. Make sure to publish your event by clicking Publish.
7. To view your event, navigate to the calendar page you chose during installation.
e.g. mysite.com/events or /calendar, etc.
Click here to login to your missionwebs.org dashboard” –> link:
http://missionwebs.org/wp-admin/my-sites.php